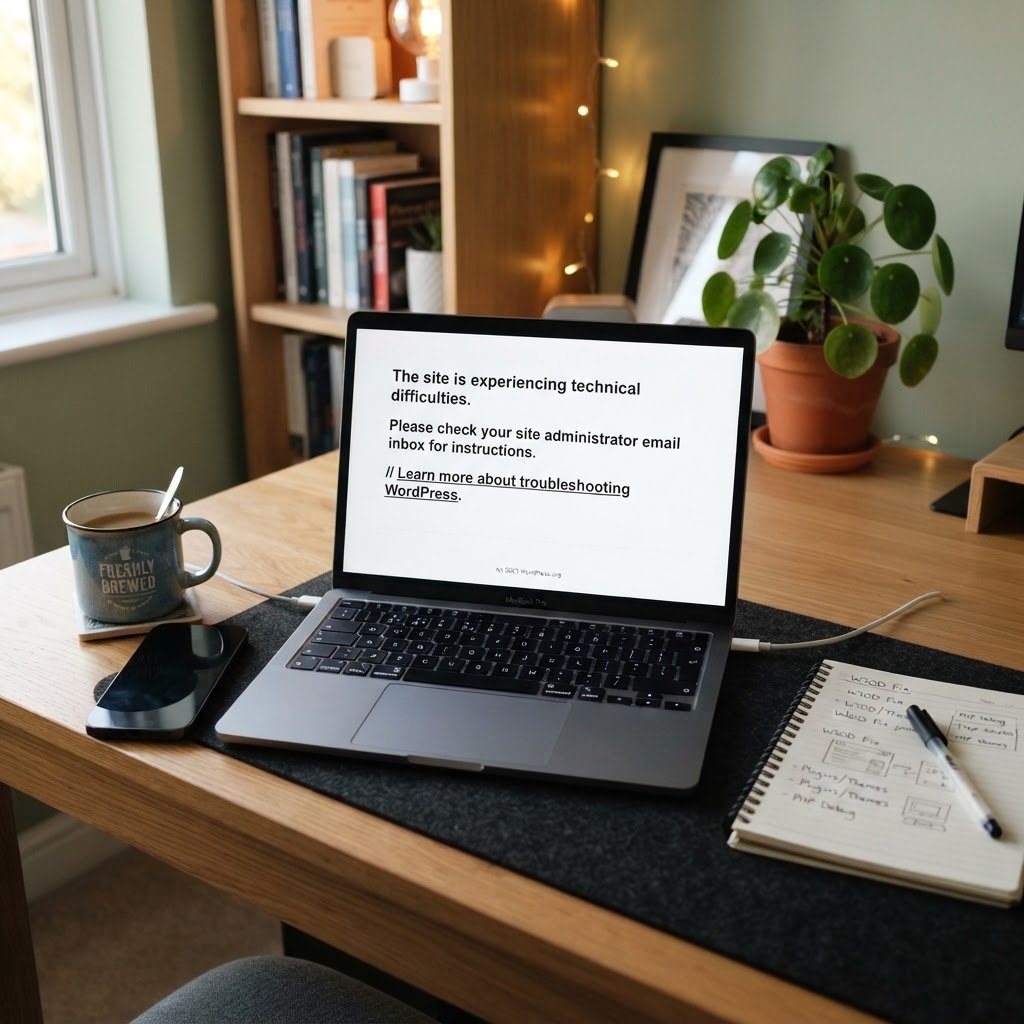
Fix the WordPress White Screen of Death: Step-by-Step Guide
WordPress White Screen of Death: A Step-by-Step Fix for Your Site
Ah, the dreaded White Screen of Death (WSoD). I can still recall that night. It was 2 AM, I was about to log a critical update for a client, and boom! All I saw was a blank screen. Panic set in. What on earth happened?
Things like this can make you feel like you’re trapped in a maze of confusion and frustration. Whether you’re a newbie or a seasoned pro, the WSoD can strike at any moment, leaving you with a sinking feeling in your stomach. Let’s roll up our sleeves and get to the heart of the issue, so you can get your site back up and running!
What is the WordPress White Screen of Death and Why Does it Happen?
Talking Points:
- Definition of WSoD
- Common causes: PHP errors, memory issues, conflicts
- How WSoD affects user experience
At its core, the White Screen of Death is simply a blank screen that appears on your site when things go wrong behind the scenes. It can happen for several reasons: a fatal PHP error, server resource exhaustion, or conflicts caused by themes and plugins. As WordPress powers more than 41% of all websites globally, the odds are you aren’t alone when you face this error. The real kicker? Often, the problem doesn’t stem from your content or database but rather from a pesky plugin or theme update.
Initial Triage: Determining Access to Your Admin Area
Talking Points:
- How to check if admin is accessible
- Significance of admin area accessibility
- What it means if only the front end is affected
Let’s start with some basic triage. Can you log into your admin area? If yes, that’s a relief! It often means the issue lies with your theme rather than the core system itself. If the front end shows the WSoD but your admin is working, you’re in a good spot to troubleshoot. Knowing where the issue lies is like shining a flashlight in a dark room—you can finally see where to go next!
Step 1: Clearing Your Browser and Site Cache
Talking Points:
- Importance of cache in troubleshooting
- Methods to clear browser and site cache
- How cache issues can mimic the WSoD
Before diving deeper, let’s clear caches. Sometimes, the cache holds onto outdated information, causing display issues that look like the WSoD. To start, clear your browser cache—this is straightforward. Then, head over to your site’s caching plugin (if you’re using one) and clear that as well. This simple step can often save you from a world of headache.
Step 2: Disabling All Plugins via FTP or File Manager
Talking Points:
- Reasons to disable plugins
- How to disable plugins through FTP/File Manager
- Checking for plugin conflicts
Now, if the WSoD remains, it’s time to dig a little deeper by disabling all plugins. You can do this via FTP or your hosting’s File Manager. Just navigate to `wp-content/plugins` and rename the folder to something like `plugins_old`. This quick fix forces WordPress to deactivate all your plugins, letting you check if one of them is the source of the issue. Don’t worry; your plugins aren’t lost, just temporarily disabled.
Step 3: Switching to a Default Theme
Talking Points:
- How themes can conflict with WordPress
- The process to switch themes
- Advantages of using a default theme for testing
If disabling plugins didn’t resolve the issue, switch your active theme to one of WordPress’s default themes—like Twenty Twenty-One. This step helps rule out potential theme conflicts. If your site returns after switching themes, it’s time to revisit your previous theme and check for issues, or perhaps consider using a more reliable alternative.
Step 4: Increasing Your PHP Memory Limit in wp-config.php
Talking Points:
- Understanding PHP memory limits
- How memory exhaustion can lead to WSoD
- Steps to increase memory limits
Another common cause for the WSoD is server resource exhaustion. You can try increasing your PHP memory limit in `wp-config.php`. Open this file and add this line:
“`php
define(‘WP_MEMORY_LIMIT’, ‘256M’);
“`
This might just give your site the extra breathing room it needs to function correctly again!
Step 5: Enabling WP_DEBUG
Talking Points:
- The importance of debugging
- How to enable WP_DEBUG
- Interpreting error messages for troubleshooting
Next, let’s turn on debugging to find the root cause of your issue. In your `wp-config.php`, change:
“`php
define(‘WP_DEBUG’, false);
“`
to
“`php
define(‘WP_DEBUG’, true);
“`
This enables error logging on your site, allowing you to see specific PHP error messages that can guide you in resolving the WSoD. Just remember to turn it off when you’re done to keep your site secure!
Step 6: Checking for Failed Auto-Update Issues and .maintenance Files
Talking Points:
- How failed updates can create WSoD
- Identifying the .maintenance file
- Resolving maintenance mode issues
Sometimes, auto-updates fail and leave a lingering `.maintenance` file that blocks access to your site. Check your root folder via FTP or File Manager. If you see this file lingering, delete it. This can bring your site back to life, freeing it from unwanted maintenance mode.
Step 7: Validating File Permissions and .htaccess Integrity
Talking Points:
- Importance of correct file permissions
- How to check and set permissions
- The role of .htaccess in site functionality
Lastly, ensure your file permissions are correctly set—not too strict and not too lax. Directories should typically be set to 755 and files to 644. Mispermissions can create access issues, which might trigger the WSoD too. Also, check your `.htaccess` file for necessary defaults. Sometimes, simply refreshing this file can do wonders.
Prevention Tactics: Regular Backups, Staging Sites, and Secure Plugin Management
Talking Points:
- Importance of backups
- Benefits of using staging sites
- Best practices for plugin management
Now that we’ve navigated through the troubleshooting process, let’s talk preventive measures. Always back up your site regularly. Invest in a good backup solution to prevent future headaches. Setting up a staging environment allows safe testing before deploying changes to your live site. And finally, be diligent with plugins—review and update them regularly, only using what’s necessary, and stay clear of poorly-rated options.
Conclusion: Peace of Mind With a Stable Site
So there you go—your roadmap for overcoming the notorious WordPress White Screen of Death! Each step provides a thorough approach to restoring functionality to your site and is all about staying calm and methodical.
It’s easy to feel overwhelmed when glitches occur, but remember that most issues have fixes, and you’re not alone in facing them. I encourage you to take these steps, customize them to fit your site’s needs, and feel free to share your experiences or questions in the comments below. We’re all in this together!
Frequently Asked Questions
Q1: How long does it usually take to fix the White Screen of Death?
A: The time can vary. Simple cache clears may take just minutes, while more complex issues could require hours to troubleshoot. Stay patient!
Q2: If my site is down, am I losing data?
A: Not necessarily! In most cases, the database remains intact, so your content is safe. Getting to the fix is the priority.
Q3: Can I recover my site without technical skills?
A: Yes! Many steps in this guide are user-friendly, but don’t hesitate to reach out for help if needed. Follow the steps in order, and take it slow.
Q4: Should I contact my hosting provider for help?
A: If all else fails, definitely reach out to your hosting provider. They may have insights or tools to assist you further.
Q5: Is there a way to prevent the WSoD from happening again?
A: Regular backups, maintaining updated plugins and themes, and having a staging site can significantly reduce the risks of encountering the WSoD again.