How to Create a WordPress Staging Site: The Ultimate Guide
How to Create a WordPress Staging Site: The Ultimate Guide to Safe Testing
I still remember the 2am phone call. A client was panicking because their checkout page had vanished after a simple theme update. We spent three hours rolling back a live site while customers complained. That kind of stress ruins your sleep and your reputation. You need a better way to handle updates without betting your business on a single click.
Why You Absolutely Need a Staging Site Today
Talking Points:
* Preventing catastrophic site crashes.
* Keeping revenue streams active.
* Testing updates in a private space.
Running a live site without a sandbox environment is like performing surgery in a hallway. One wrong move and the whole thing goes dark. A wordpress staging site acts as your private playground where you can break things without anyone seeing. It is an identical clone of your live site tucked away in a quiet corner of your server.
When you build a development environment, you separate your experiments from your income. Think of it as a dress rehearsal before the big show. If a plugin update goes sideways, only your test site suffers. Your customers stay happy while you stay calm.
How Staging Sites Protect Your Live Revenue
Talking Points:
* Avoiding public errors and downtime.
* Identifying plugin conflicts early.
* Preserving professional site reliability.
Every time you update a theme or a script, you take a risk. Maybe the new code clashes with your payment gateway. Perhaps your CSS breaks on mobile browsers. Without a staging site, these bugs become public property the moment you hit update.
Professional site maintenance requires a proper deployment workflow. By cloning your site for testing, you catch these snags before they go live. A quick check in your sandbox environment saves hours of panicked troubleshooting later. It is simple, effective, and keeps your bank account healthy.
Method 1: Using Your Web Host’s Built-in Staging Tool
Talking Points:
* Ease of use for beginners.
* Integrated server-side testing.
* Fast one-click synchronization.
Many quality hosts include a staging feature right in the control panel. This is often the easiest way to get started. You usually just click a button that says “Create Staging” and wait a few minutes. The host handles the database migration and file copying for you.
I love this method because it stays within your server environment. It makes the whole process of syncing changes much smoother. Just check your hosting dashboard to see if this option exists. If it does, stop what you are doing and set it up.
Method 2: Creating a Staging Site with Plugins
Talking Points:
* Portability across different hosts.
* Managing staging with user-friendly dashboards.
* Handling large site migrations.
If your host does not provide a tool, plugins are your best friend. There are several high-quality options that specialize in creating a staging environment. You install the plugin, click a button, and you have a copy of your site ready for testing.
Some of these plugins allow you to select exactly which parts to sync. This helps when you want to update the design but keep new user registrations intact. It gives you total control over what moves from test to live. Just keep an eye on your server resources during the copy process.
Method 3: The Manual Approach
Talking Points:
* Full control over your setup.
* Understanding server-side mechanics.
* Using FTP and manual database exports.
Sometimes, you want to build your own bridge. Manual staging is for those who enjoy getting under the hood of their site. You create a new subdomain and copy your files over via FTP or your file manager.
You also need to export your database and import it into a new one. Don’t forget to edit your wp-config.php file with the new credentials. It is a bit tedious, but it teaches you exactly how your site is structured. Just be careful not to overwrite your live database files.
Best Practices for Testing Updates and Changes
Talking Points:
* Blocking search engines from indexing.
* Keeping environments synced before starting.
* Testing across different browsers.
Never start a test on an old, outdated version of your clone. Always refresh your staging site so it matches your current live production environment perfectly. Otherwise, you are testing on ghost data.
Make sure your staging site has search engine indexing turned off. You do not want Google crawling your messy test pages and flagging them as duplicate content. Check your reading settings in the dashboard to ensure the box is ticked.
Common Pitfalls to Avoid During the Pushing Process
Talking Points:
* Accidental overwriting of new live data.
* Ignoring compatibility issues before deployment.
* Skipping a full site backup.
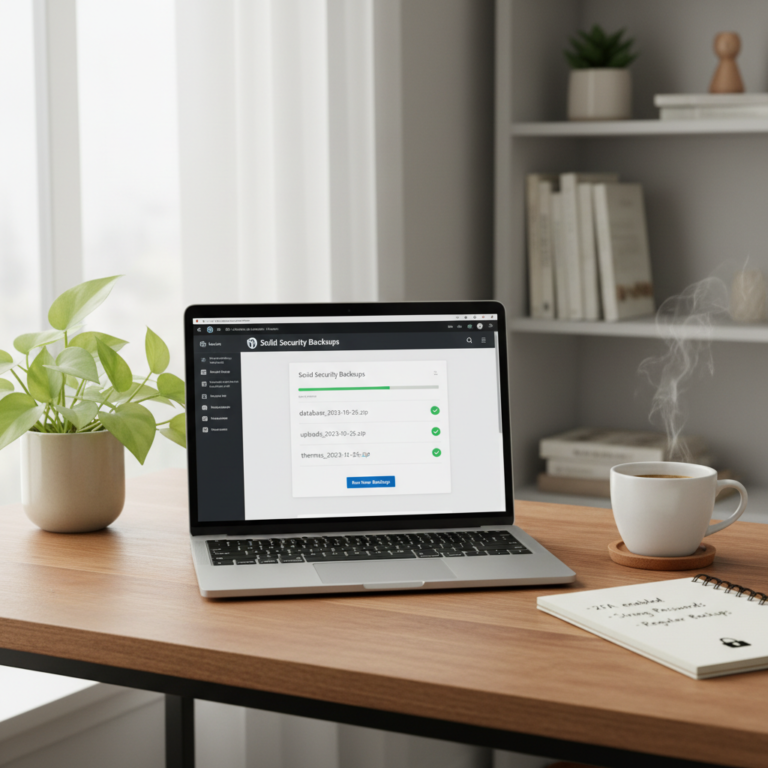
One of the biggest mistakes I see is pushing a staging site to live without a current backup. Always have a fresh backup of your live site ready. If the sync goes wrong, you need a way to hit undo.
Another trap involves overwriting new user data. If you have been working on staging for three days, your live site has gained new comments or sales. Pushing the full database will wipe those out. Use selective synchronization if your tool allows it.
How to Safely Sync Staging Changes to Live Without Data Loss
Talking Points:
* Identifying which tables to migrate.
* Comparing file changes before merging.
* Verifying functionality after the merge.
Syncing is the most nerve-wracking part of the job. You have to be careful with your database. Most of the time, you only want to push theme or plugin updates, not the entire site history.
Look for tools that allow table-specific synchronization. If you are just changing CSS, just push those specific files. Keep the live database changes out of the mix unless you are performing a full site redesign. Take it slow and check every result.
Troubleshooting Staging Site Issues
Talking Points:
* Fixing connectivity and permission errors.
* Handling PHP version mismatches.
* Resolving broken links post-migration.
Sometimes, your staging site will act strangely. It might have different server settings than your live site. Check your PHP version if you see errors pop up immediately. It is common for local servers or subdomains to run slightly different configurations.
If links are breaking, look at your site URL settings in the database. Sometimes they do not update correctly during the clone process. A simple search and replace tool can fix those lingering paths. Don’t panic; these things happen to the best of us.
Conclusion
You now have the keys to a safer, faster workflow. Using a staging site turns your development process from a high-stakes gamble into a predictable, boring routine. That is exactly what you want when running a business. Start small by cloning your site today, even if you do not have any big changes planned yet. Having that safety net will change how you view your maintenance tasks. Do you have a favorite staging workflow? I would love to hear your experiences or questions in the comments below.
Frequently Asked Questions
Can I use a local computer to stage my WordPress site?
Yes, you can run a local server environment on your machine. Tools like LocalWP make this incredibly simple. It keeps your testing completely offline, though you will need to upload your changes once they are ready.
Will a staging site affect my SEO performance?
It will not, provided you block search engines from indexing the staging domain. Ensure your staging site has the ‘Discourage search engines from indexing this site’ option enabled in your WordPress settings.
How often should I refresh my staging environment?
I suggest refreshing your staging site before every major update or new feature build. This ensures you are testing against the latest version of your live site’s data and configuration.
Is staging just for developers and big agencies?
Not at all. Every site owner who relies on their website for income needs a way to test safely. You do not need coding skills to use modern staging tools.
What happens if I make a mistake while pushing to live?
If you have a backup, you can restore your site to its previous state. This is why having a full site backup before performing any sync operation is the golden rule of site management.