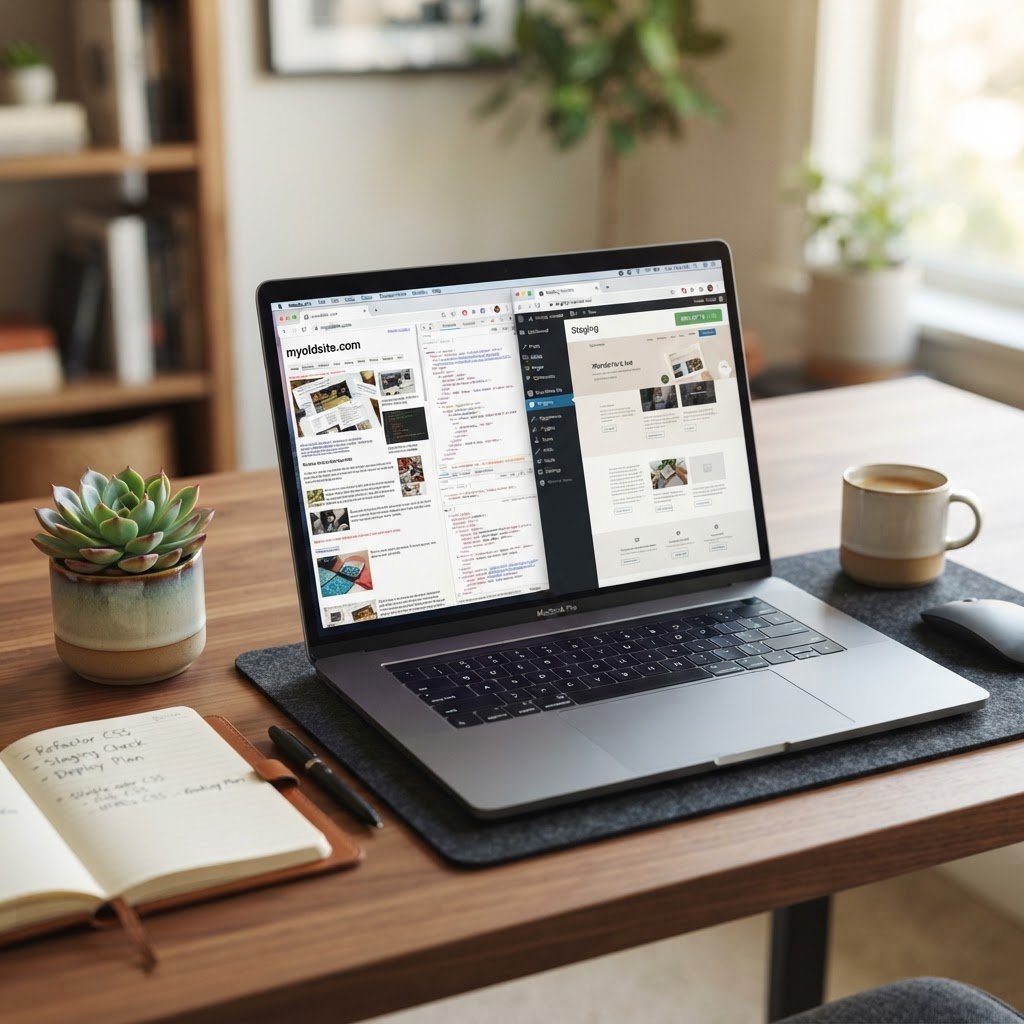
WordPress Staging Environment Setup: A No-Nonsense Guide
How to Create a WordPress Staging Environment: A No-Nonsense Guide to Safe Updates
Talking Points:
* The White Screen of Death at 2am
* Why live site edits cause anxiety
* Building confidence through testing
I still remember sitting in my office at 3am, staring at a blank screen after a plugin update went sideways. My biggest client was screaming via email, the site was down, and my hands were shaking. That was the last time I ever pushed an update directly to a production site without a safety net. You need to treat your live site like a delicate glass sculpture, not a workbench. A WordPress staging environment setup is the only way to keep your sanity intact when things get weird.
Most folks think staging is just for developers, but that is flat-out wrong. If you run a business site, you are one bad update away from losing revenue. Having a replica allows you to break things on purpose, fix them, and keep your public visitors happy. It is about control.
Why You Absolutely Need a Staging Environment
Talking Points:
* Avoiding public site disasters
* Testing themes and plugin updates
* Understanding the risks of live changes
Think of a staging site as a practice field for your digital presence. When you decide to try a new theme or add a fancy booking plugin, you test it here first. You avoid the dreaded theme conflict or the slow-down that happens when two pieces of code fight each other. If it breaks, nobody sees it but you.
Over 60% of small business owners deal with site outages caused by human error or bad updates every year. That number is staggering, yet so easily avoidable. You catch the bugs in private before they hurt your bottom line. It changes your entire workflow.
When to Use a Staging Site
Talking Points:
* Testing PHP version upgrades
* Plugin compatibility checks
* Visual design tweaks
Never update your PHP version on a live site without testing. I have seen perfectly healthy sites go down instantly because an old plugin was not ready for a newer PHP environment. Your development server gives you the space to check if your code still likes the server configuration. You should also use staging for major design changes.
Maybe you want to see if that new hero image breaks your mobile layout. Instead of hoping for the best, you check it in the sandbox. If it crashes, you just refresh and try again. It is about peace of mind.
Method 1: Hosting Provider Staging Tools
Talking Points:
* The convenience of one-click tools
* Why hosting staging is usually best
* Automated synchronization features
If your host offers a staging button in the dashboard, use it. This is the gold standard for most users because it handles the database synchronization for you. You don’t have to worry about complex server settings or file paths. It is just clean, fast, and reliable.
Most managed WordPress hosts include this as a standard feature now. You click a button, wait a minute, and you have an identical copy. When you are done testing, you click another button to push staging site to live. It saves hours of technical work.
Method 2: Creating a Staging Site with a Plugin
Talking Points:
* Choosing a reliable staging plugin
* Plugin tutorial basics
* Limitations of plugin-based staging
Not everyone has a fancy host, and that is okay. You can use a WordPress staging plugin tutorial to guide you through the process on a shared server. Tools like WP Staging are great for cloning your site into a subfolder. It keeps your files separate from your production site.
Remember that some plugins struggle with huge databases or massive image libraries. If your site is gigabytes in size, the plugin might timeout or crash. Always check your site backups before you try to clone anything.
Method 3: Manual Staging for Advanced Users
Talking Points:
* Setting up a development sub-domain
* Exporting and importing databases
* Managing config files manually
If you really want to know how the gears turn, you can do it manually. You create a new database, copy all your files over via FTP, and update your wp-config file. This is for people who like to get their hands dirty with code and server logs.
It is not the best method for beginners because one typo kills the connection. However, it gives you total control over the environment. You can mimic your actual server configuration exactly, which is great for troubleshooting weird bugs.
Essential Checklist Before Going Live
Talking Points:
* Verifying all features work
* Checking for search engine crawlers
* Final site migration review
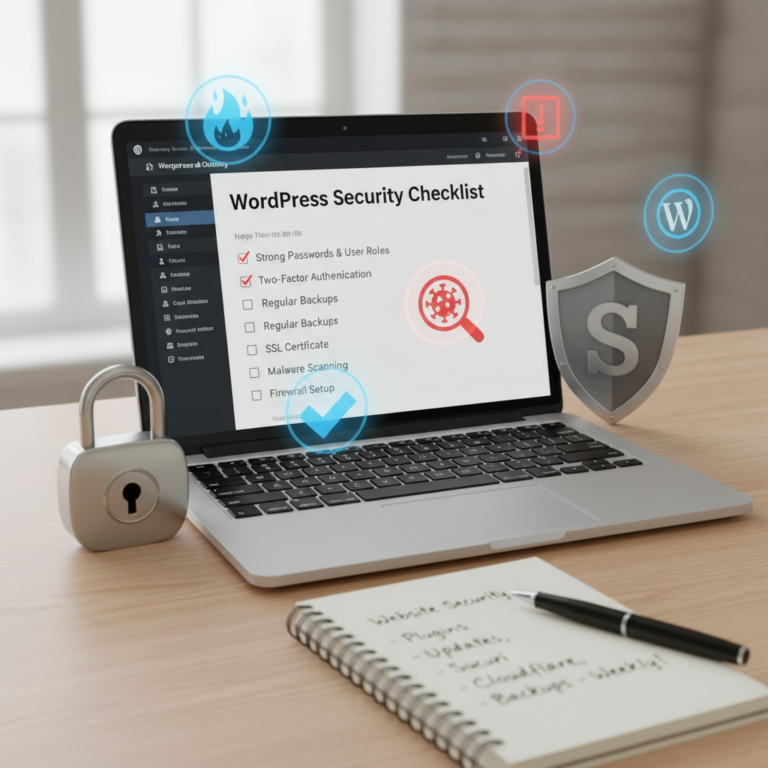
Before you push that button, check everything twice. Does the contact form actually send mail? Are your child themes working correctly? Make sure your staging site has ‘noindex’ enabled so Google does not get confused by duplicate content.
I have seen people forget to disable indexing on their test sites, and it ruins their SEO. It is a rookie mistake that takes months to fix. Don’t let that be you.
Troubleshooting Common Staging Pitfalls
Talking Points:
* Handling database sync errors
* Managing media library conflicts
* Dealing with CSS and JS caching
Sometimes, the data sync fails, and your images don’t load. This usually happens when the file paths point to the wrong server. Check your site URL settings in the database carefully. Caching is another big one that fools people into thinking a fix did not work.
Clear your cache on the staging site after every change. If you don’t, you are just looking at a ghost of your old site. Persistence is key when you hit a wall.
Database Synchronization Tips
Talking Points:
* Protecting live customer data
* Avoiding overwriting orders
* Using selective migration tools
Pushing data back and forth is dangerous if you have an online store. If a customer places an order on your live site while you are pushing a staging update, that order could vanish into the ether. Use tools that allow for selective migration of files without touching the live sales database.
Always backup your live database before you pull the trigger. If things go wrong, you can restore it. Never skip this step.
Final Thoughts on Site Safety
Talking Points:
* Treating your site like a business
* Why safety is non-negotiable
* Staying consistent with updates
Your site is your storefront. You wouldn’t renovate your physical shop by swinging a sledgehammer while customers were inside, right? Treat your website with the same care. Staging might feel like extra work, but it is worth it.
Start small, get comfortable with the process, and you will never fear the update button again. Have you had a bad update nightmare? Share your story below so we can all learn from it!
Frequently Asked Questions
Can I use a staging site to test site speed improvements?
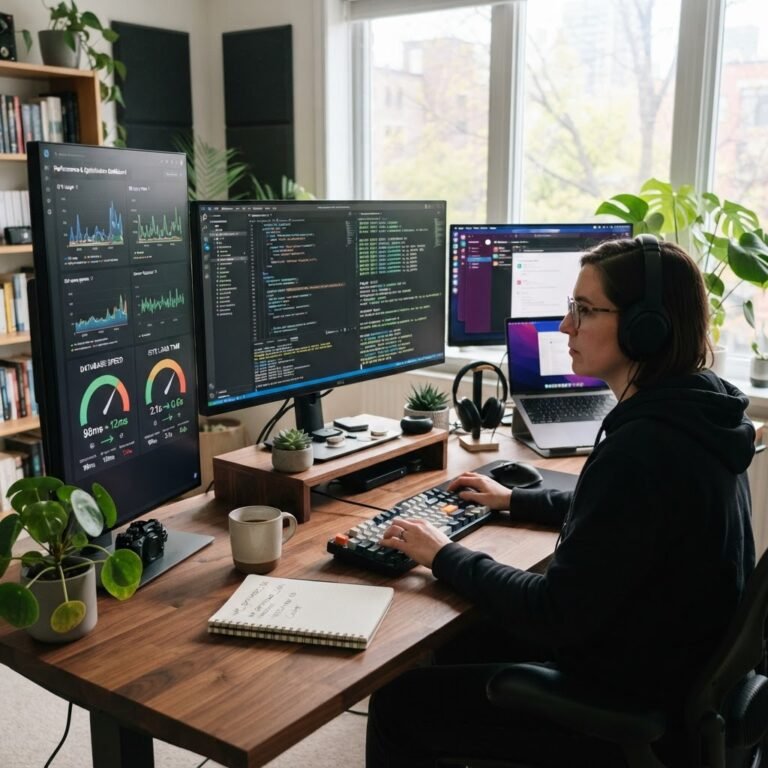
Yes, a staging environment is actually the perfect place to test performance tweaks like minifying CSS or optimizing images, as it allows you to benchmark changes without impacting your live site speed metrics.
Will search engines index my staging site if I forget to block them?
It is a risk, as search engine crawlers might find the staging URL if it is linked anywhere, which can cause duplicate content issues, so always check your robots.txt or site settings to ensure indexing is discouraged.
Is a staging site the same as a backup?
No, they are different tools, as a staging site is for testing new changes, while a backup is a restore point for disaster recovery, and you should never use one to replace the other.
How often should I sync my staging site with my live data?
It is best practice to refresh your staging site with the latest live data right before you start a new round of updates to ensure you are testing against current conditions.
Does manual staging work for every hosting provider?
While it works on most servers that provide database and file access, it can be quite tricky on shared hosting with tight restrictions, which is why built-in hosting tools are almost always a better choice for beginners.