WordPress Site Migration Strategies: Your Complete Guide
WordPress Site Migration Strategies: Your Ultimate Guide to a Smooth Transition
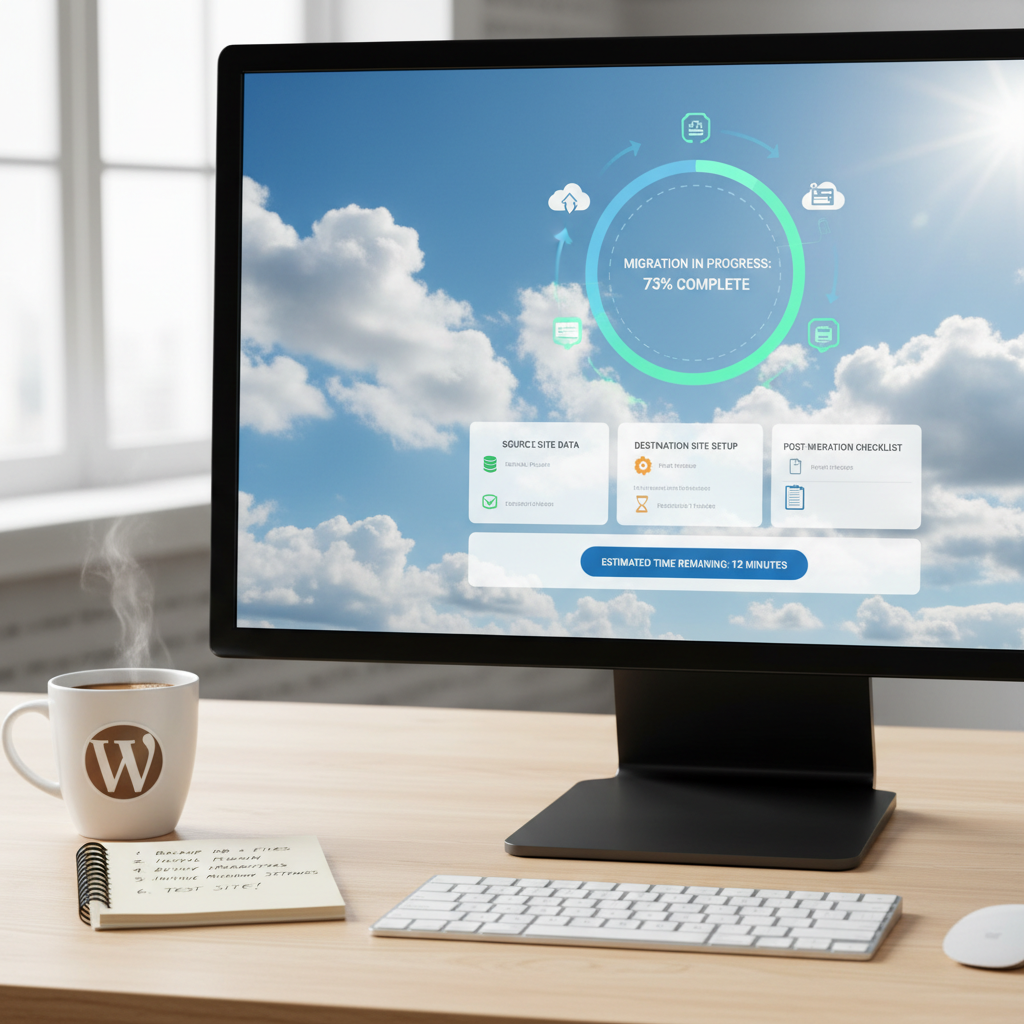
Ah, the thrill of moving your WordPress site! It’s like packing up for a big move—only instead of boxes full of clothes and kitchenware, you’re handling digital assets: valuable content, user data, and maybe even the occasional panic attack when things go awry. Did you know that WordPress powers 42.5% of all websites globally? Yeah, that’s a staggering number. It means a lot of folks are out there, just like you, needing effective migration strategies every day, especially when it’s 2 a.m. and your website is down because it can’t find its new home.
When it comes to site migration, many users face headaches—from the White Screen of Death to constant downtime during the transfer. I remember my first attempt at migrating a site. My heart sank like a stone when I realized I hadn’t backed up properly and lost half the data. To spare you the agony, let’s cover the common challenges you’ll encounter, followed by tried-and-true strategies that can make your migration smooth and efficient.
Common Challenges in WordPress Site Migration
Migrating your WordPress site isn’t just about transferring files from one place to another. As many users find out the hard way, it involves risks. Website downtime can hinder traffic and hurt your brand reputation. If you haven’t set up proper backups, you might find yourself wishing you had paid more attention when your site went haywire during the transfer.
And don’t forget SEO! If your URLs change and you don’t set proper redirects, you risk losing all your hard-earned rankings in search engines. How frustrating would that be? It’s super important to understand these challenges so you can tackle them head-on.
Preparation Steps Before Migrating Your WordPress Site
Before you hop on the migration train, one thing you absolutely must do is perform a thorough backup of your site. I learned this lesson the hard way—I thought, “Oh, I’ll remember everything!” Spoiler alert: I did not.
You’ll want to use a reliable backup plugin or your hosting provider’s backup options. Once you have your backup in place, take a good look at your current setup. Document your themes, plugins, and any specific settings. This information helps you replicate your setup on the new server with ease.
Finally, if your site is popular and sees a lot of traffic, it’s helpful to notify your users beforehand. Let them know there might be some downtime while things are getting moved around. Keeping your audience in the loop helps maintain goodwill.
Method 1: Manual Migration – Full Control, Full Responsibility
If you’re someone who loves having full control over every single little detail, manual migration might be your jam. It’s a bit like building a Lego set without the instructions—sure, it takes longer, but you can create exactly what you want.
Start by transferring your files via FTP (File Transfer Protocol). Using an FTP client like FileZilla, connect to your old server and download your files. Once you have everything on your local system, it’s time to upload them to your new server. Make sure you’re transferring all the necessary files, including the wp-content folder, which contains your themes and plugins.
Next, you’ll need to export your database using phpMyAdmin, followed by importing it into the database of your new host. This part can feel technical, but take it step-by-step, and don’t hesitate to reach out for help if you hit a snag.
Method 2: Using WordPress Migration Plugins – Simplifying the Process
If manual migration feels too…well, manual, consider using WordPress migration plugins. These nifty tools take a lot of the pain points out of the process. Plugins like Duplicator, All-in-One WP Migration, and UpdraftPlus are fantastic and user-friendly options that can simplify your experience.
Many of these plugins can automate the backup process, making it less likely you’ll forget any important files. They usually offer a step-by-step wizard that guides you through the entire migration without needing to think about FTP or database support.
Just install the plugin on your existing site, follow the prompts, and it’ll handle the rest. This is a great option for beginners or those who simply want a hassle-free migration experience.
Method 3: Leveraging Hosting Provider Migration Services – Hands-Off Approach
Want to skip all the hard work? Most quality WordPress hosting services offer free migrations. Providers like Bluehost, SiteGround, and WP Engine have teams ready to assist at the drop of a hat. If you’ve signed up for a new host, check to see if this perk is included.
It’s often as simple as filling out a form or contacting customer support. They do the heavy lifting while you sit back—imagine that!
This option is perfect for those who dread technical processes or simply don’t want the headache that often comes with migrations.
Post-Migration Checklist: Ensuring a Smooth Transition
After the migration, there are a few essential checks you should perform. Dive into your new site to see if everything made it across—look for broken links, missing images, or anything that looks off.
Then, check the website’s functionality. Do all features work as they should? Test your contact forms, ecommerce processes, and any interactive elements. It’s important to ensure users will have a seamless experience.
If you’ve changed servers, don’t forget to update your DNS settings. This step helps point your domain to your new server, ensuring your traffic flows smoothly.
Troubleshooting Common Issues After Migration
You might encounter a few bumps in the road after migration. Your site could have broken links, layout problems, or plugin incompatibilities. If an error pops up, don’t panic! The fixes are usually straightforward, especially if you followed your preparation checklist.
Check your permalinks under the settings tab and re-save them to eliminate link issues. For layout problems, clear your browser cache or check your theme’s compatibility with the new server.
Remember: if you run into something you can’t fix, your backup is your best friend! You can always revert back if needed.
Best Practices for Future WordPress Site Migrations
Once you’ve mastered migrating your site, keep a few best practices in mind for the future. Always back up your site before moving it. You’ll want a safety net, especially if you’re making significant changes.
It’s also wise to document and double-check your settings. A migration checklist can save you from headaches later down the line. And finally, if you can plan migrations during low-traffic times, it’ll help minimize disruption to your users.
Conclusion: Empowering Your WordPress Journey
Migrating your WordPress site can feel overwhelming at first, but with the right strategies, you can tackle it confidently. Whether you choose to go manual, use plugins, or rely on your hosting provider, being well-prepared is key. Remember, every site migration is a learning experience; adapt what you’ve learned to fit your needs, and before long, you’ll be a migration pro! Share your experiences or tips below—let’s help each other out!
Frequently Asked Questions
What is the best way to back up my WordPress site before migration?
Using a reliable WordPress backup plugin like UpdraftPlus or BackupBuddy is recommended. These plugins can automate the backup process and store your data safely.
What should I do if my site goes down after migration?
First, check your DNS settings to ensure they point to the correct server. If everything looks good, consider restoring from your backup, if needed.
How can I avoid losing SEO rankings during migration?
Ensure that your URLs stay the same or set up proper 301 redirects for changed URLs. This will help maintain your SEO rankings post-migration.
What are the most common errors encountered during migration?
Common issues include broken links, layout changes, and plugin incompatibilities. Double-checking your backup and settings can help address these errors swiftly.
Should I update my plugins and themes before migrating?
Yes, it’s best practice to update your plugins and themes before migration to reduce the chance of conflicts during the transfer process.