How to Install a WordPress Plugin: Ultimate Beginner’s Guide
How to Install a WordPress Plugin: The Ultimate Beginner’s Guide
The Midnight Plugin Panic
Talking Points:
* The 2am white screen of death anxiety.
* Why plugins define your site experience.
* Balancing utility with site stability.
It is 2 am. You just hit ‘activate’ on a new plugin. Suddenly, your screen goes stark white. Panic sets in fast. I have been there plenty of times. That quiet, terrifying silence when your site breaks feels like the end of the world. Trust me, you are not alone in this frustration.
Plugins act as the heart of your WordPress site. They turn a basic content management system into a store, a forum, or a portfolio. Without them, your site is just a digital skeleton. You need to pick them wisely to keep things running smoothly.
Method 1: The One-Click Plugin Search
Talking Points:
* Utilizing the WordPress admin dashboard menu.
* Searching the official plugin directory.
* Why this is the safest installation route.
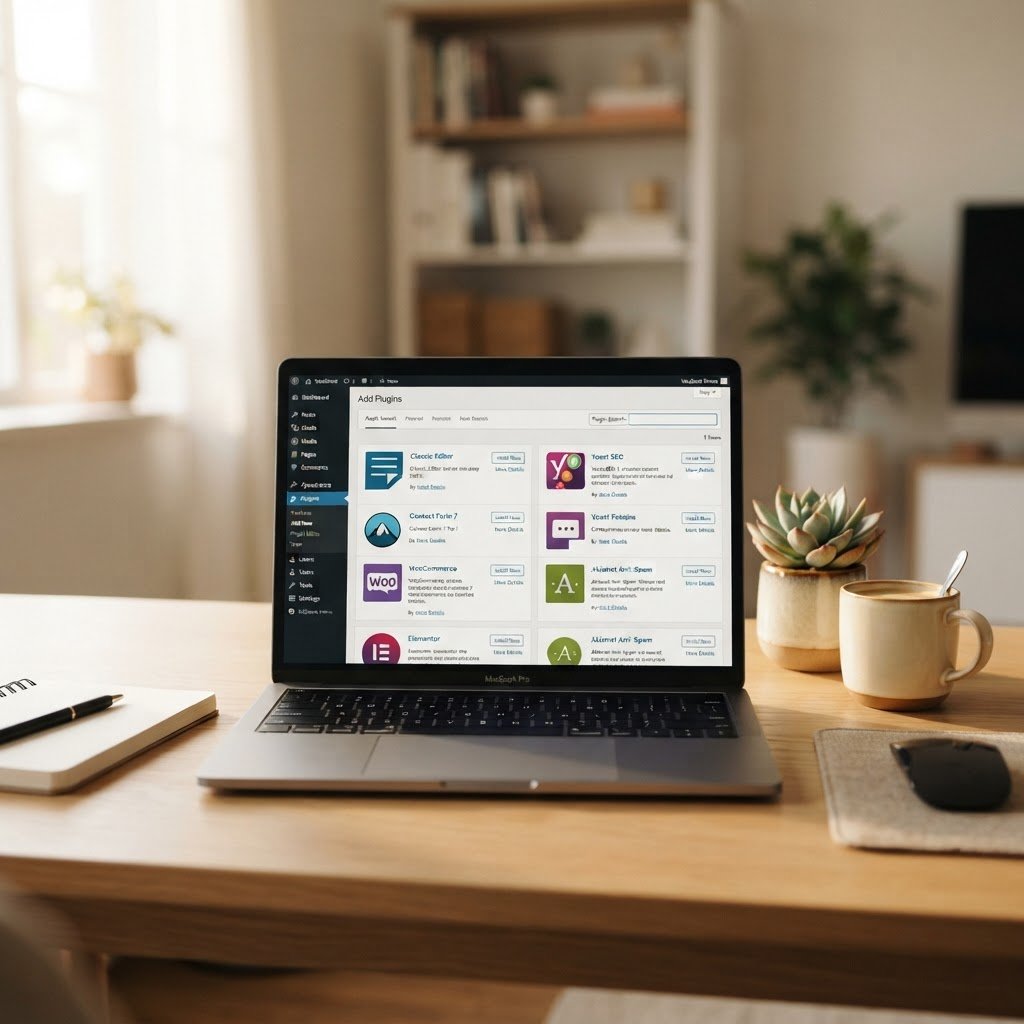
The easiest way to add functionality is right inside your WordPress admin dashboard. You do not need to hunt for files online. Just head over to the Plugins menu and click Add New. This portal connects directly to the official repository.
Type the name of the tool you need into the search bar. You will see ratings, active installs, and update dates. Check those stats before you click anything. Installing from here saves you from needing to touch any server files or complex settings.
Once you find the right match, hit Install. A few seconds later, select Activate. That is it. Your new feature is live and ready for testing. This remains the gold standard for site security and ease.
Method 2: The ZIP File Upload
Talking Points:
* When to use the upload feature.
* Avoiding broken download folders.
* How to upload plugin to WordPress dashboard.
Sometimes, you buy a premium tool or find a custom script that isn’t in the free directory. In these cases, you will need to install WordPress plugin from zip. The process feels slightly more manual but stays within the safe walls of your dashboard.
Locate the Upload Plugin button at the top of the Add New screen. Browse your computer for the file. Remember, it must stay in the ZIP file format. Do not unzip it first, or WordPress will complain that the file structure is invalid.
Click Install Now and wait for the upload to finish. If your web hosting control panel has strict file size limits, you might hit a wall here. Stay calm. If the upload hangs, you have other options to get the job done.
Method 3: Going Under the Hood with FTP
Talking Points:
* Using an FTP client for tricky installs.
* Navigating the wp-content/plugins directory.
* Permissions and file placement rules.
When the dashboard refuses to cooperate, it is time to manually install WordPress plugin via FTP. You will need a reliable FTP client like FileZilla. Connect to your site using your hosting credentials. It feels like moving files on your own desktop.
Find your public_html or root folder. Dig into the wp-content folder and open the plugins folder. This is where every piece of code lives. You must extract your zip file locally before uploading the individual folder to this directory.
Drag that folder from your machine to your server. Once the transfer hits 100%, head back to your WordPress admin. Refresh your plugins page. You will see your new tool sitting there, waiting for you to click Activate. It is manual work, but it never fails.
Fixing Common Plugin Installation Errors
Talking Points:
* Troubleshooting memory limit exhaustion.
* Correcting incorrect file permissions.
* Identifying plugin compatibility issues.
Errors usually stem from server limits. If you see a white screen or a memory error, your site ran out of room to process the installation. You might need to talk to your host about bumping up your limits. It is a common growing pain.
Check your file permissions if things feel sluggish. Directories should sit at 755 while files hold at 644. If these are wrong, the server might block the plugin from running. Incorrect settings create a barrier that prevents your site from loading correctly.
Watch out for plugin compatibility too. An old plugin paired with a new theme version is a recipe for trouble. Always check when the developer last pushed an update. If it hasn’t been touched in years, look for something else.
Activating and Configuring Your Tools
Talking Points:
* Understanding activation versus configuration.
* Testing after enabling new features.
* Clearing cache to see instant changes.
Activation is just the start. You have enabled the code, but you haven’t told it how to act yet. Look for a new menu item in your sidebar or a Settings link under the plugin name. This is where the magic happens.
Go through every tab. Set your preferences carefully. Do not just leave the defaults if they don’t serve your goals. Take fifteen minutes to tweak the settings until the plugin fits your workflow perfectly.
Test the feature on the front end of your site. If you added a contact form, go submit one. If you added an image gallery, check it on your phone. Make sure it actually works for your visitors before you walk away.
Staying Lean: Best Practices for Performance
Talking Points:
* Why plugin bloat kills site speed.
* The danger of outdated and unused tools.
* Security risks of dormant code.
Every plugin you add pulls a tiny bit of resources. Do not install five different plugins to do five tiny jobs if one bigger tool does them all. A lean site is a fast site. Speed is a huge factor for your search engine rankings and user happiness.
Security is another massive factor. Statistics show that roughly 90 to 97 percent of site hacks happen through plugin vulnerabilities. Keep your list short. If you aren’t using a tool, delete it entirely. A deactivated plugin is still a sitting duck for attackers.
Check for updates at least once a week. Developers fix holes when they release new versions. Ignoring that little red notification icon is essentially leaving your front door unlocked. Treat updates as a non-negotiable habit.
The Art of Removing Plugins Correctly
Talking Points:
* Deactivation versus full removal.
* Clearing orphaned database tables.
* Reducing server clutter effectively.
Removing a plugin is more than just clicking ‘delete’. Many tools leave behind data in your database. This is called ‘orphaned data’. Over time, this piles up and can make your site feel heavy or unresponsive.
If you are comfortable with database tools, you might want to clean up these extra rows. If not, don’t worry too much, but try to stick to high-quality plugins that clean up after themselves. Deleting is always safer than just turning them off.
Deleting removes the files that hackers love to target. It clears the server path of any malicious scripts that might be waiting in the shadows. Keep your digital house tidy to keep it safe from constant prying eyes.
Final Thoughts on Site Mastery
Managing plugins is the best way to gain control over your digital space. It isn’t about having the most tools. It is about having the right ones that work in harmony. You have learned how to add, troubleshoot, and remove code safely today.
Take your time with every installation. Think about your goals and choose your tools with care. If you ever hit that 2 am panic again, come back here. You have the skills to handle whatever your site throws at you. Leave a comment below with your favorite essential plugin or share your best tip for keeping a site fast.